Amazon MSK
Amazon MSK
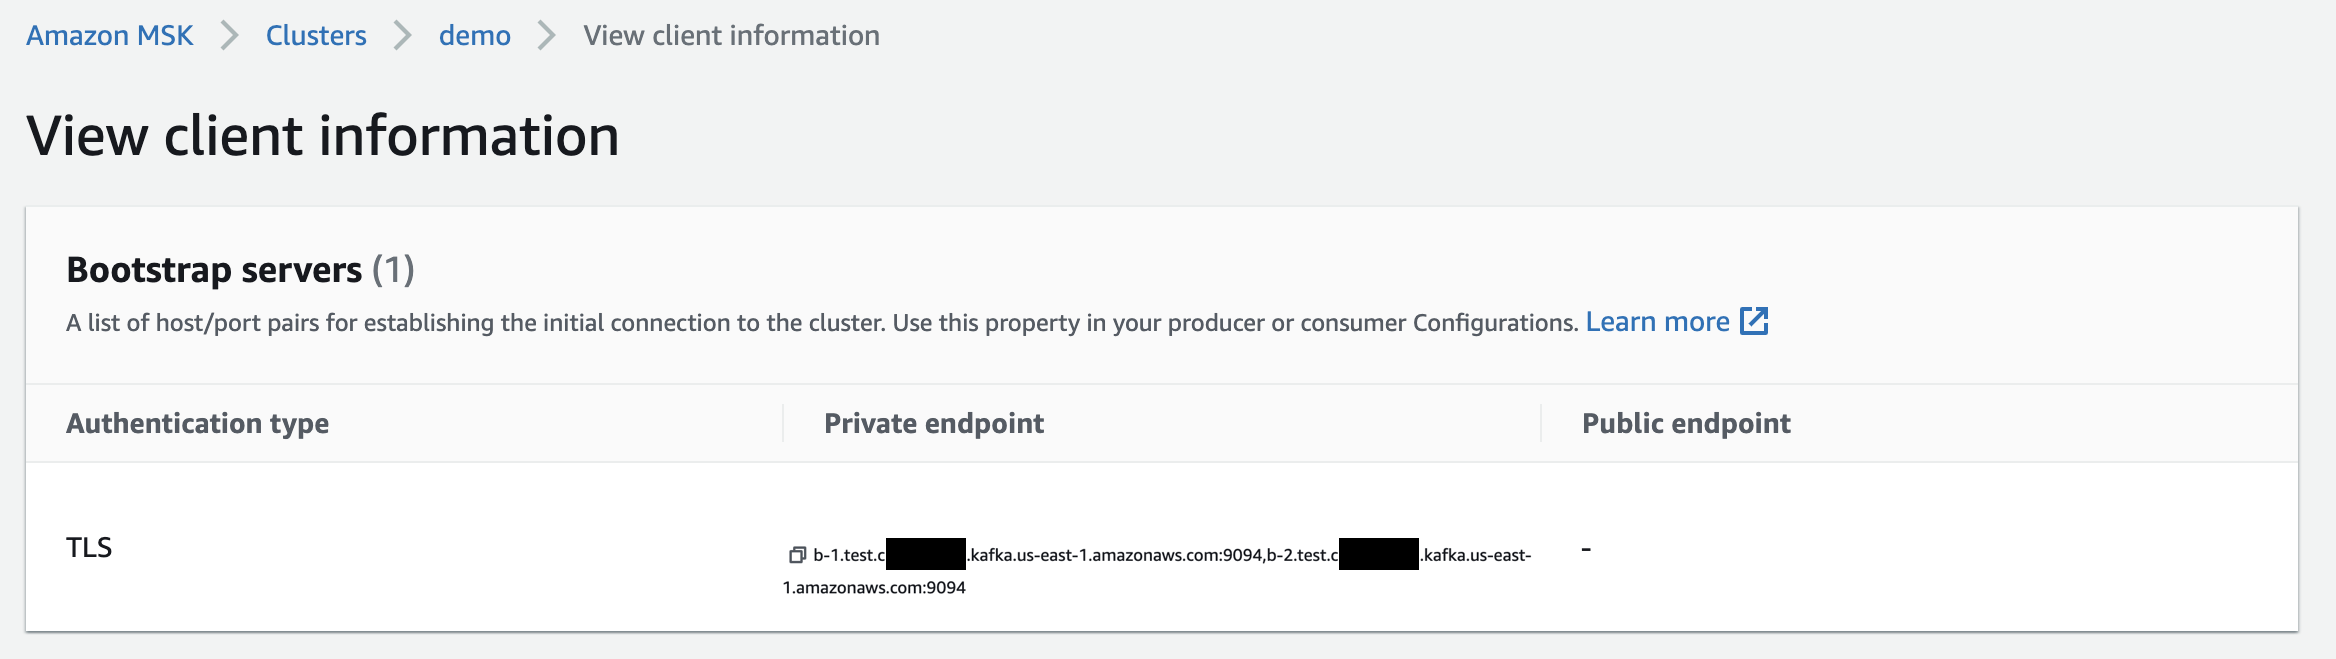
Unlike other hosted Kafka services, Amazon MSK is not readily reachable over the internet. As a result, unless Zilla is deployed in the same VPC in which MSK is running, you will first need to make your cluster publicly accessible.
Enable MSK Public Access
"Public Access" can be turned on for MSK clusters running Apache Kafka 2.6.0 or later. Follow the MSK Public Access Guideto do so.
Warning
MSK's “Public Access” feature directly exposes your brokers to the internet, which may present additional security concerns. An alternative and more flexible solution is the Secure Public Access solution using Zilla Plus for Amazon MSK. The solution acts as intermediary that securely routes connectivity between external clients and MSK brokers without having to modify the broker configuration. Specifically, no broker configuration change is needed for advertised listeners.
Set up mTLS Authentication between MSK and Zilla
Once your MSK cluster is reachable over the internet, it will rely on mTLS to authenticate external clients. Setting up mTLS between MSK and Zilla is done in three steps:
- Create a trusted Client Certificate in Amazon Certificate Manager.
- Export the Client Certificate as well as the Certificate Authority (CA) Certificate.
- Create a PKCS12 KeyStore containing the exported certificates that will be referenced by Zilla to complete the
mTLShandshake with your MSK cluster.
NOTE
If you deployed the Zilla Plus for Amazon MSK, then you should already have a Client Certificate that Zilla can use and you can go straight to the second step.
Create a Client Certificate
Follow the Create Client Certificate guide. Upon completion you will have created a client certificate inside ACM and should have a local client-1.key.pem file containing the client certificate's RSA key as well as the ARN of the certificate.
Export Client and CA Certificates
First, you will export the Client Certificate to a local file called client.cert. To do this you will need the ARN of the client certificate as well as of the certificate authority used to issue the certificate, and run the following command:
aws acm-pca get-certificate --certificate-authority-arn CERTIFICATE_AUTHORITY_ARN \
--certificate-arn CERTIFICATE_ARN --output text
output
----BEGIN CERTIFICATE-----
MIIEdzCCA1+gAwIBAgIQDLtFK9uDUb6VpObjhusyhTANBgkqhkiG9w0BAQsFADAS
......
-----END CERTIFICATE-----

-----BEGIN CERTIFICATE-----
MIIC8TCCAdmgAwIBAgIRAIxnMlRU8x8CasAlsfpjghQwDQYJKoZIhvcNAQELBQAw
......
-----END CERTIFICATE-----
Copy first certificate and save it as client.cert
client.cert
----BEGIN CERTIFICATE-----
MIIEdzCCA1+gAwIBAgIQDLtFK9uDUb6VpObjhusyhTANBgkqhkiG9w0BAQsFADAS
......
-----END CERTIFICATE-----
Next, you will export the CA Certificate.
Log into your AWS Certificate Manager Private Certificate Authority and under "Additional Information" export the certificate body to a file called ca.pem

Create a PKCS12 KeyStore
To create the KeyStore you will need a signed client certificate alias. It is best to use one of your MSK cluster's bootstrap server names.
With the bootstrap server name in hand, run the following command to create the keystore.p12 file:
keystore.p12
openssl pkcs12 -export -in client.cert -inkey client-1.key.pem \
-out keystore.p12 -name SIGNED_CLIENT_CERT_ALIES \
-CAfile ca.pem
Configure Zilla
The examples use the below Environment variables.
| Environment variable | Description |
|---|---|
KEYSTORE_PATH | The path to the local keystore.p12 file that was generated above. |
TRUSTORE_TYPE | Keystore types such as pkcs12, jceks, and etc |
KEYSTORE_PASSWORD | Keystore password to keystore.p12 file that was generated above. |
SIGNED_CLIENT_CERT_ALIAS | A unique string that identifies the key cert entry chain in the keystore.p12. For example, use the MSK bootstrap server name. |
BOOTSTRAP_SERVER_HOSTNAME | Target MSK hostname. For example: b-2-public.myTestCluster.v4ni96.c2.kafka.us-east-1.amazonaws.com |
BOOTSTRAP_SERVER_PORT | Target MSK port number. For example 9094 |
Inside zilla.yaml create a client_vault that references your newly created keystore. After this, reference the vault in the south_tls_client binding. Your zilla.yaml should appear as follows:
vaults:
  client_vault:
    type: filesystem
    options:
      trust:
        store: ${{env.TRUSTORE_PATH}}
        type: ${{env.TRUSTORE_TYPE}}
        password: ${{env.TRUSTORE_PASSWORD}}
bindings:
...
  south_kafka_client:
    type: kafka
    kind: client
    options:
      servers:
        - ${{env.KAFKA_BOOTSTRAP_SERVER}}
    exit: south_tls_client
  south_tls_client:
    type: tls
    kind: client
    vault: client_vault
    options:
      trust:
        - ${{env.CA_CERT_ALIAS}}
    exit: south_tcp_client
  south_tcp_client:
    type: tcp
    kind: client
NOTE
SNI adds the domain name to the TLS handshake process so that the Zilla process reaches the right domain name and receives the correct SSL certificate.
To test the above config you can use it to add or replace the necessary bindings in the http.kafka.sasl.scram cookbook.